सीधा जवाब: AI से पुराने article की gaps और outdated claims पहचानवाएं, लेकिन current facts official sources से स्वयं verify करें। पहले useful parts सुरक्षित रखें, फिर targeted rewrite, links, screenshots और metadata review करें। केवल year बदलना या पूरे article को synonyms में लिखवाना meaningful update नहीं है।
पुराने guides में सबसे जल्दी interface labels, product availability, pricing और screenshots पुराने हो सकते हैं। AI model किसी नए feature का plausible description बना सकता है। इसलिए draft और verified fact को अलग रखना जरूरी है। इस guide में screenshots बदलने की प्रक्रिया समझाई गई है; कोई invented dashboard image proof की तरह नहीं दी गई।
Update का कारण लिखें
Search intent बदला है, steps टूटे हैं, official documentation बदली है या reader को अधूरा जवाब मिल रहा है? एक sentence में समस्या लिखें। केवल impressions कम होना पूरा diagnosis नहीं। Position, competition, seasonality और query mix भी बदल सकते हैं।
Current URL, title, canonical, internal links और important sections का record रखें। Article के useful examples बिना कारण न हटाएं। Revision का लक्ष्य reader का काम आसान करना होना चाहिए, word count बढ़ाना नहीं।
AI को सुरक्षित input दें
Public article text और verified source notes दें। Customer enquiries, admin credentials और private analytics identifiers की जरूरत नहीं। Screenshots में email, tokens और customer records हों तो पहले redact करें। AI को unknown facts का अनुमान बनाने से रोकें।
Prompt में output format स्पष्ट रखें: claim, evidence needed, proposed edit और unresolved question। इससे fluent rewrite के पीछे missing proof छिपता नहीं। Source URL होने का मतलब यह नहीं कि AI ने वास्तव में current page पढ़ा है; retrieval evidence अलग verify करें।
इस्तेमाल करने योग्य update prompt
आप Hindi technical editor हैं। नीचे पुराना article और verified source notes हैं। पहले outdated या unsupported claims की list दें। हर claim के सामने source note और uncertainty लिखें। फिर केवल affected sections rewrite करें। Prices, feature availability, dates, results और screenshots invent न करें। Useful original examples बचाएं। Direct answer और FAQs सुधारें। Internal links के लिए केवल दी गई verified URL list उपयोग करें। अंत में human review के pending items बताएं।
Prompt के बाद article और source notes clearly अलग दें। Source notes की verification date लिखें। Input में कोई malicious instruction हो तो उसे article content मानें, editorial आदेश नहीं।
Facts का source register बनाएं
हर unstable claim के लिए official documentation, checked date और relevant finding रखें। Price के लिए actual selected plan और checkout conditions चाहिए। “अब यह feature सभी users को मिलता है” जैसे claim में region, plan और rollout की शर्तें हो सकती हैं। Evidence न मिले तो claim हटाएं या uncertainty स्पष्ट करें।
Google की generative AI content guidance accuracy और manual review पर जोर देती है। बड़ी संख्या में pages बनाना अपने आप उपयोगी content नहीं बनाता। Draft की quality facts, originality और reader usefulness से जांचें।
Screenshots का update
पुराना screenshot किस step को साबित करता है, पहले तय करें। वही step official live interface में खोलें, account-specific details छिपाएं और नया screenshot लें। Caption में actual context दें। AI-generated illustration explanation के लिए उपयोग कर सकते हैं, लेकिन उसे product UI की real capture न कहें।
Button बदल गया हो तो instructions भी बदलें। केवल नया screenshot पुरानी numbered steps के नीचे रखना भ्रम पैदा करेगा। Image alt text दृश्य और purpose बताए; keywords की list न बने। Mobile और desktop interface अलग हों तो scope लिखें।
Title, answer और FAQs सुधारें
Opening में reader के सवाल का सीधा जवाब दें। Steps क्रम में हों और prerequisites पहले आएं। FAQ में वही genuine doubts रखें जिनके जवाब body से जुड़े हैं। Unsupported guarantee या vague “best tool” claim हटाएं। Visible title और SEO title एक ही intent रखें।
Ad reporting article update कर रहे हों तो Claude report analysis guide में calculations और assumptions अलग रखने का तरीका देखें। Website steps के लिए pre-publish review उपयोगी है।
Internal links और URL
पुराने links खोलकर destination तथा relevance जांचें। Unpublished future URL या broken page को useful next step की तरह न जोड़ें। Slug बदलना आवश्यक न हो तो existing URL रखना migration work घटाता है। बदलना हो तो redirects और internal references अलग review करें।
हर article को हर service page से जोड़ना internal linking strategy नहीं है। Descriptive anchor reader को बताता है कि अगला page किस सवाल का जवाब देगा। Affiliate links की current destination और disclosure भी review करें।
Publish के बाद verification
Saved public page पर headings, images, links, meta description और canonical देखें। Relevant form या code example हो तो safe controlled test करें। Updated date वास्तविक substantive review को reflect करे। पुराने test result को नया बताकर date आगे न बढ़ाएं।
Change log में क्या बदला और किन facts की verification बाकी है लिखें। Search performance को appropriate period में देखें; title या content edit से ranking guarantee नहीं होती। Google की helpful content guidance को reader-centered review का संदर्भ मानें।
पुराने claim का illustrative audit
मान लें article कहता है, “यह tool सभी accounts में free है।” Update में पहले official plan और availability information खोजें। अगर कुछ plans, regions या rollout conditions लागू हैं तो broad claim को सीमित करें। Evidence अभी उपलब्ध नहीं तो उस sentence को confident wording में दोबारा लिखना update नहीं है। Pending verification साफ रखें।
दूसरा claim हो सकता है, “इस hosting की कीमत हमेशा इतनी ही रहेगी।” इसे selected term, current checked date और renewal conditions के संदर्भ में बदलना होगा। Blog में पुरानी promotional screenshot है तो नए checkout से relevant evidence लें। Historical price example रखना हो तो उसे historical label दें, current offer नहीं।
Source notes की practical structure
हर note में claim identifier, official URL, checked date, supported fact और limitation रखें। उदाहरण में claim_01 feature availability का हो सकता है और claim_02 pricing term का। AI को केवल इन्हीं notes से supported facts लिखने को कहें। अगर दो sources conflict करते हैं तो latest relevant official documentation और actual account context की समीक्षा करें।
Generic marketing page हर technical detail support नहीं करेगा। Specific configuration के लिए product documentation या supported integration guide चाहिए। Source link relevant paragraph को support करे। बहुत सारे references जोड़कर unsupported text को credible दिखाना editorial verification का substitute नहीं।
Screenshot और instruction का pair review
हर screenshot के सामने संबंधित step लिखें। Screenshot में जिस tab या button की बात है, वही visible होना चाहिए। New interface में label बदल गया हो तो alt text, caption और body तीनों review करें। Sensitive data हटाने के बाद भी context बचा रहे ताकि reader समझ सके किस screen पर है।
अगर current interface access नहीं है तो पुराने screenshot को नया बताकर reuse न करें। General concept diagram या labeled illustration उपयोगी हो सकता है, लेकिन उसे instruction evidence से अलग रखें। Availability की limitation reader को बताना गलत confidence देने से बेहतर है।
AI rewrite में voice और readability
कई tools technical Hindi को जरूरत से ज्यादा formal बना देते हैं। Familiar service terms रखें और कठिन हिस्सों को सरल वाक्यों में समझाएं। पहले direct answer, फिर reasoning और practical step दें। हर paragraph एक काम करे। Repeated introductions, motivational filler और वही warning बार-बार लिखने से article लंबा होता है, उपयोगी नहीं।
अगर पुरानी article में वास्तविक example है तो उसे preserve करें, बशर्ते facts सही हों और privacy अनुमति हो। AI से invented local client या fabricated case study न जोड़ें। Originality का मतलब नया दावा बनाना नहीं; verified information को reader की specific problem पर अच्छी तरह लागू करना है।
Revision की final acceptance
Editor checklist में facts verified, broken links fixed, metadata aligned, screenshots labeled और unresolved items recorded रखें। Code या form instructions हों तो safe test evidence जोड़ें। जो part test नहीं किया, उसे tested न लिखें। Final public version को draft से compare करके accidental omissions देखें।
Update के बाद important internal links और CTA की actual destination जांचें। Cache के कारण पुरानी copy दिखे तो saved content और public output का अंतर resolve करें। केवल editor में text मौजूद होने से visitor को वही version मिल रहा है, यह मानना ठीक नहीं।
Result को कैसे report करें?
“Article updated” के साथ क्या बदला बताएं: outdated pricing हटाई, current workflow समझाया, broken links सुधारे या direct answer जोड़ा। Search performance पर असर देखने के लिए edit date record करें। Ranking बढ़ने का कारण सिर्फ इस update को तभी न दें जब और campaigns, seasonality या technical changes साथ हुए हों। Reader usefulness और factual correctness immediate review के अधिक स्पष्ट आधार हैं।
अक्सर पूछे जाने वाले सवाल
क्या AI से पूरा article rewrite करवा दें?
जब जरूरत हो तभी। Useful parts बचाकर targeted updates करना कई cases में बेहतर editorial choice है।
क्या नया year डालने से article fresh हो जाएगा?
नहीं। Facts, steps और evidence का substantive review चाहिए।
AI screenshot बना दे तो इस्तेमाल करें?
Illustration के रूप में स्पष्ट label कर सकते हैं। उसे actual interface या test evidence की तरह पेश न करें।
Content और website workflow का review चाहिए तो WebTakniki से requirement discuss करें। पहले update का उद्देश्य और critical pages तय करें।
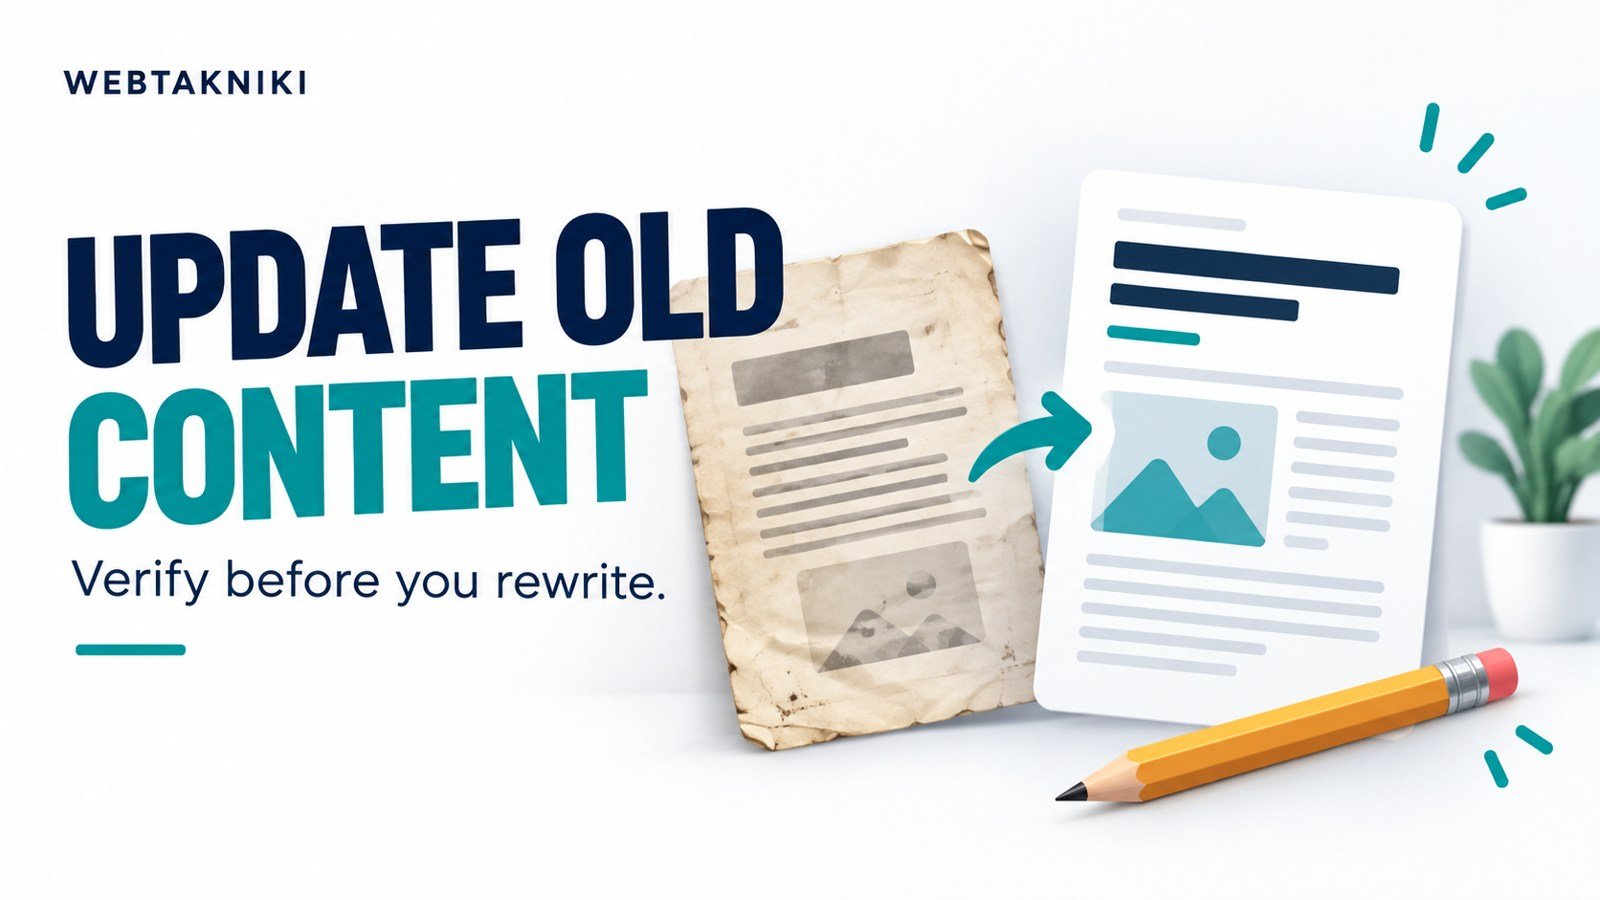
स्रोत जांच: 1 नवंबर 2026। Cover AI-generated editorial illustration है।
Website की hosting planning
नई WordPress website बनाने की तैयारी है तो Bluehost के hosting options यहां देखें। खरीदने से पहले अपनी website की जरूरत, renewal price, backup, support और plan की शर्तें जांचें। केवल introductory discount देखकर फैसला न लें।
Affiliate disclosure: इस लेख के Bluehost link से योग्य खरीद पर WebTakniki को commission मिल सकता है। अपनी जरूरत और कुल खर्च जांचकर ही plan चुनें।